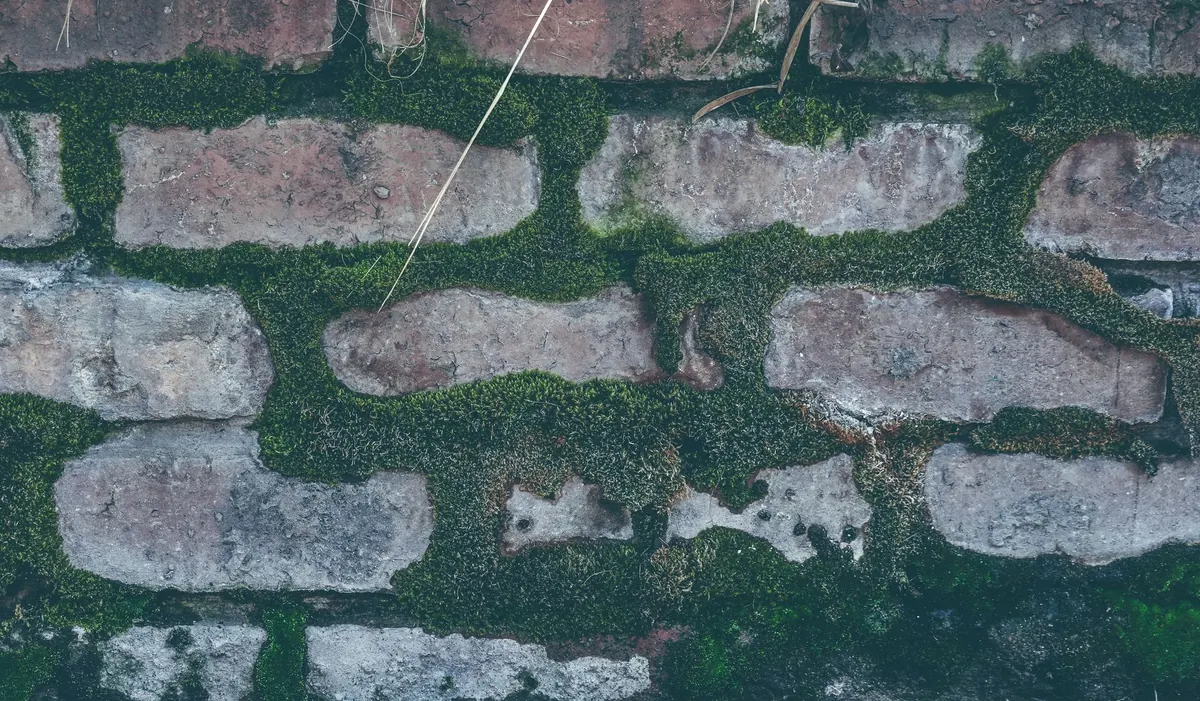
A moss wall is one of the few interior features that genuinely earns the word "living". Get it right and you have texture, colour and a softness that no paint or wallpaper can imitate. Get it wrong and you have a drooping, musty panel that starts shedding onto the floor within a fortnight. The frustrating part is that the failures are rarely mysterious. In almost every case, the same five or six mistakes are to blame — and every one of them is avoidable with a bit of thought before you pick up a drill.
Treating Preserved Moss and Live Moss the Same Way
This is the root of most confusion. Preserved moss has been treated so it stays soft and green without soil, roots or water. It needs no light, no misting and no feeding. It wants to be left alone. Live moss is the opposite: it is a growing plant that needs moisture, airflow and the right light to keep going.
The classic error is misting a preserved wall because it "looks dry". That introduces water into a panel with no drainage and nowhere to dry out, which invites mould and can soften the adhesive holding the moss in place. Equally common is buying a live moss panel and treating it like a picture — hanging it in a dry hallway beside a radiator, then wondering why it browns within weeks.
Before you buy anything, ask the supplier plainly which type you are getting, and ask for their care notes in writing. Then follow those notes instead of advice you found elsewhere.
Choosing the Wrong Backing Board
The backing is doing more work than most people realise. It has to stay flat, resist moisture and carry the weight of the moss without bowing. Standard MDF and chipboard are poor choices: in a bathroom or kitchen they swell at the edges, and a swollen board will eventually shed its moss.
Better options include exterior-grade plywood, cement board or a purpose-made panel from a moss supplier. For anything larger than roughly a square metre, build a simple batten frame behind the panel. The battens let you fix into studs or masonry properly, and the small cavity behind the panel gives trapped moisture somewhere to go rather than sitting against your plaster.
Size matters too. A panel that is too thin for its span will flex every time a door closes, and flexing is what breaks the bond between moss and board.
Adhesive and Fixing Mistakes
Adhesive failures look dramatic — a section of moss peels away and lands on the sofa — but they usually start with the wrong product. Solvent-heavy contact adhesives can discolour moss and leave a lingering smell. A hot glue gun is fine for dabbing a loose corner back into place, but the glue goes brittle with temperature swings and is not a structural fix.
Use an adhesive formulated for moss where you can get it, or a low-odour, neutral-cure construction adhesive, applied in blobs as well as lines so the panel can cope with small movements. Whatever you choose, test it first:
- Glue a small offcut of moss to a scrap of your backing board.
- Leave it somewhere warm for 48 hours.
- Check for colour change, hardening or a greasy residue.
- Try to pull it off. If it comes away cleanly, change adhesive.
One more thing: never glue moss straight onto the wall. You will not get it off without damaging the plaster, and you will trap moisture against the surface beneath it.
Humidity: Too Dry, Too Wet, or No Airflow
Preserved moss is happiest in the kind of humidity people find comfortable — somewhere in the region of 40 to 60 per cent relative humidity. Above a radiator, or in an air-conditioned office, it dries out and becomes brittle. In a steamy bathroom with no working extractor fan, it goes the other way and starts to smell.
Live moss needs considerably more moisture, and it needs moving air as well. Still, damp air is the recipe for mould, so a small fan on a low setting, or a ventilated gap behind the panel, does more good than a daily soaking. Mist live moss with soft or filtered water where you can; hard tap water leaves a white crust on the leaves over time.
Learn the warning signs early. Black or green patches with a musty smell mean mould. White crust means hard water. Crisp brown edges mean it is too dry. Sagging means the adhesive is failing.
If you already have damp on the wall you are planning to cover, stop. Fix the damp first — covering it will hide the problem and make it worse.
Lighting and Placement Errors
Live moss wants bright, indirect light. A north-facing window or a modest LED grow light running for eight to twelve hours a day suits it well. Strong direct sun will scorch and dry it; a dark corner will leave it pale and gradually declining.
Preserved moss is the reverse. It needs no light at all, and direct sun will fade dyed colour and dry the fibres. A conservatory or a south-facing window is the worst place you could hang it.
Think about the room as a whole:
- Keep panels away from radiators, cookers and extractor fans.
- Avoid draughty spots beside frequently opened external doors.
- Do not hang moss at head height above a sofa or dining bench, where it will be knocked.
- Skip cold, unheated rooms that turn damp in winter.
Skipping Preparation and Dry Fitting
Moss panels travel badly. Let yours sit in the room where it will live for a day or two before installation so it settles at the right temperature and humidity. Then lay the whole design out flat on the floor and look at it properly. Colour varies between batches, and a layout that reads well on screen can look patchy once it is at scale.
Work from the top down when you fix the moss, trim with sharp scissors rather than pulling, and keep a spare bag of moss for patching. Small gaps and thin patches happen, and matching the moss later is far harder than keeping some back now.
Before You Drill Anything
Run through this list and you will avoid almost every failure described above:
- Confirm whether your moss is preserved or live, and read the supplier's care notes.
- Inspect the wall for damp, peeling paint or a musty smell, and repair before installing.
- Choose a rigid, moisture-resistant backing and fix it into studs or masonry — not plasterboard alone.
- Test your adhesive on an offcut for 48 hours.
- Match the position to the moss: no radiators, no direct sun, no draughts.
- Decide now how you will maintain it — dusting with a soft brush for preserved moss, misting and airflow for live.
A moss wall is not difficult to install well. It simply rewards planning more than enthusiasm. Sort the backing, the adhesive, the moisture and the position before anything goes on the wall, and you will have a feature that holds its colour and shape for years rather than months.
If your wall shows signs of damp, or you are unsure whether a leak or rising damp is involved, bring in a qualified damp specialist rather than working around it.
Photo: Magda Ehlers / Pexels